
7 Simple Steps to Download, Back Up, and Preserve Your Photos
You Opened Your Gallery. Now What?
You open your gallery, and there they are. The faces, the light, the expressions, the work, the story, the people, and the season you wanted to remember.
And then comes the next question:
What do you do with them now?
A photo session is not just about recording a moment. It is also about preserving it. When your photos are saved, backed up, printed, and used well, they can keep doing what they were meant to do: connect you back to the people, the story, and the meaning inside the images.
That is why I love these three words:
Record. Preserve. Connect.
We record the moment with the camera.
We preserve it by downloading, backing up, organizing, and printing it well.
And then we connect with it again when we see those images on our walls, in an album, on a website, in a social post, or in the story of a family, business, or organization.
Here is the simple order I recommend after your gallery arrives.
1. Start with the 3-2-1 Backup Rule
Before you download anything, know the goal.
For important photos, I recommend the 3-2-1 backup rule:
3 copies of your images
2 different types of storage
1 copy somewhere off-site or in the cloud
For most people, that means:
One copy on your computer
One copy on an external hard drive
One copy in cloud storage
This gives your images more than one place to live. If something happens to one copy, your photos are not gone.
2. Download the Full Gallery to Your Computer
Your online gallery is wonderful for viewing, sharing, and ordering, but I do not recommend using it as the only home for your images.
Your phone is also not the best long-term archive for your full-resolution files.
Phones are great for easy access, texting, posting, and sharing. But for archiving, printing, albums, websites, and future use, you want the full-resolution files downloaded to a computer.
Those files are larger and hold more detail. They give you the best quality if you want to print, crop, enlarge, or use the images later.
3. Make a Simple Folder
After you download your images, put them somewhere easy to find.
You do not need a complicated system. You just need a clear one.
A simple folder name might look like this:
2026 [Type of Session] Photos
For example:
2026 Family Photos
2026 Branding Photos
2026 Fine Art Portrait Photos
I like starting with the year because it keeps everything in order.
Inside that folder, you can also make one smaller folder called:
Favorites
Or, if it helps:
Favorites for Printing
Favorites for Sharing
Favorites for Website or Marketing
Keep it simple. The goal is to be able to find the images again later.
4. Copy the Folder to an External Hard Drive
Next, copy the whole folder to an external hard drive.
An external hard drive is a separate storage device that plugs into your computer. It gives you another physical copy of your photos.
If you are only backing up one session, you do not need a huge amount of space. But if you want to back up years of photos, a 2 TB external hard drive is usually a good place to start.
Label it clearly, such as:
Photo Backup
Then organize it by year.
A simple system you will actually use is better than a perfect system that feels overwhelming.
5. Upload the Folder to Cloud Storage
Now upload that same folder to cloud storage.
This gives you an off-site copy, which means your images are not only stored in your home or office.
You can use Google Drive, iCloud Drive, Dropbox, Amazon Photos, or another cloud service. The exact service matters less than the habit of having a safe copy somewhere else.
One note: check your quality settings. Some apps save space by compressing images. That can be fine for everyday phone photos, but for professional images, I recommend saving the full-resolution files whenever possible.
6. Save Favorites to Your Phone
I absolutely want you to have your favorites on your phone.
Save them. Share them. Post them. Text them. Use them.
Just do not let your phone be the only place they live.
Think of your phone as the easy-access copy, not the archive.
7. Print Your Favorites
Digital files matter, but printing is part of preserving too.
When photos only live on a screen, they are easy to forget. When they are printed, framed, held, or placed in an album, they become part of your home, your work, and your story.
You do not have to print every image. Start small.
Print one favorite for the wall.
Make a small stack to share.
Create a simple album.
Frame a portrait you love.
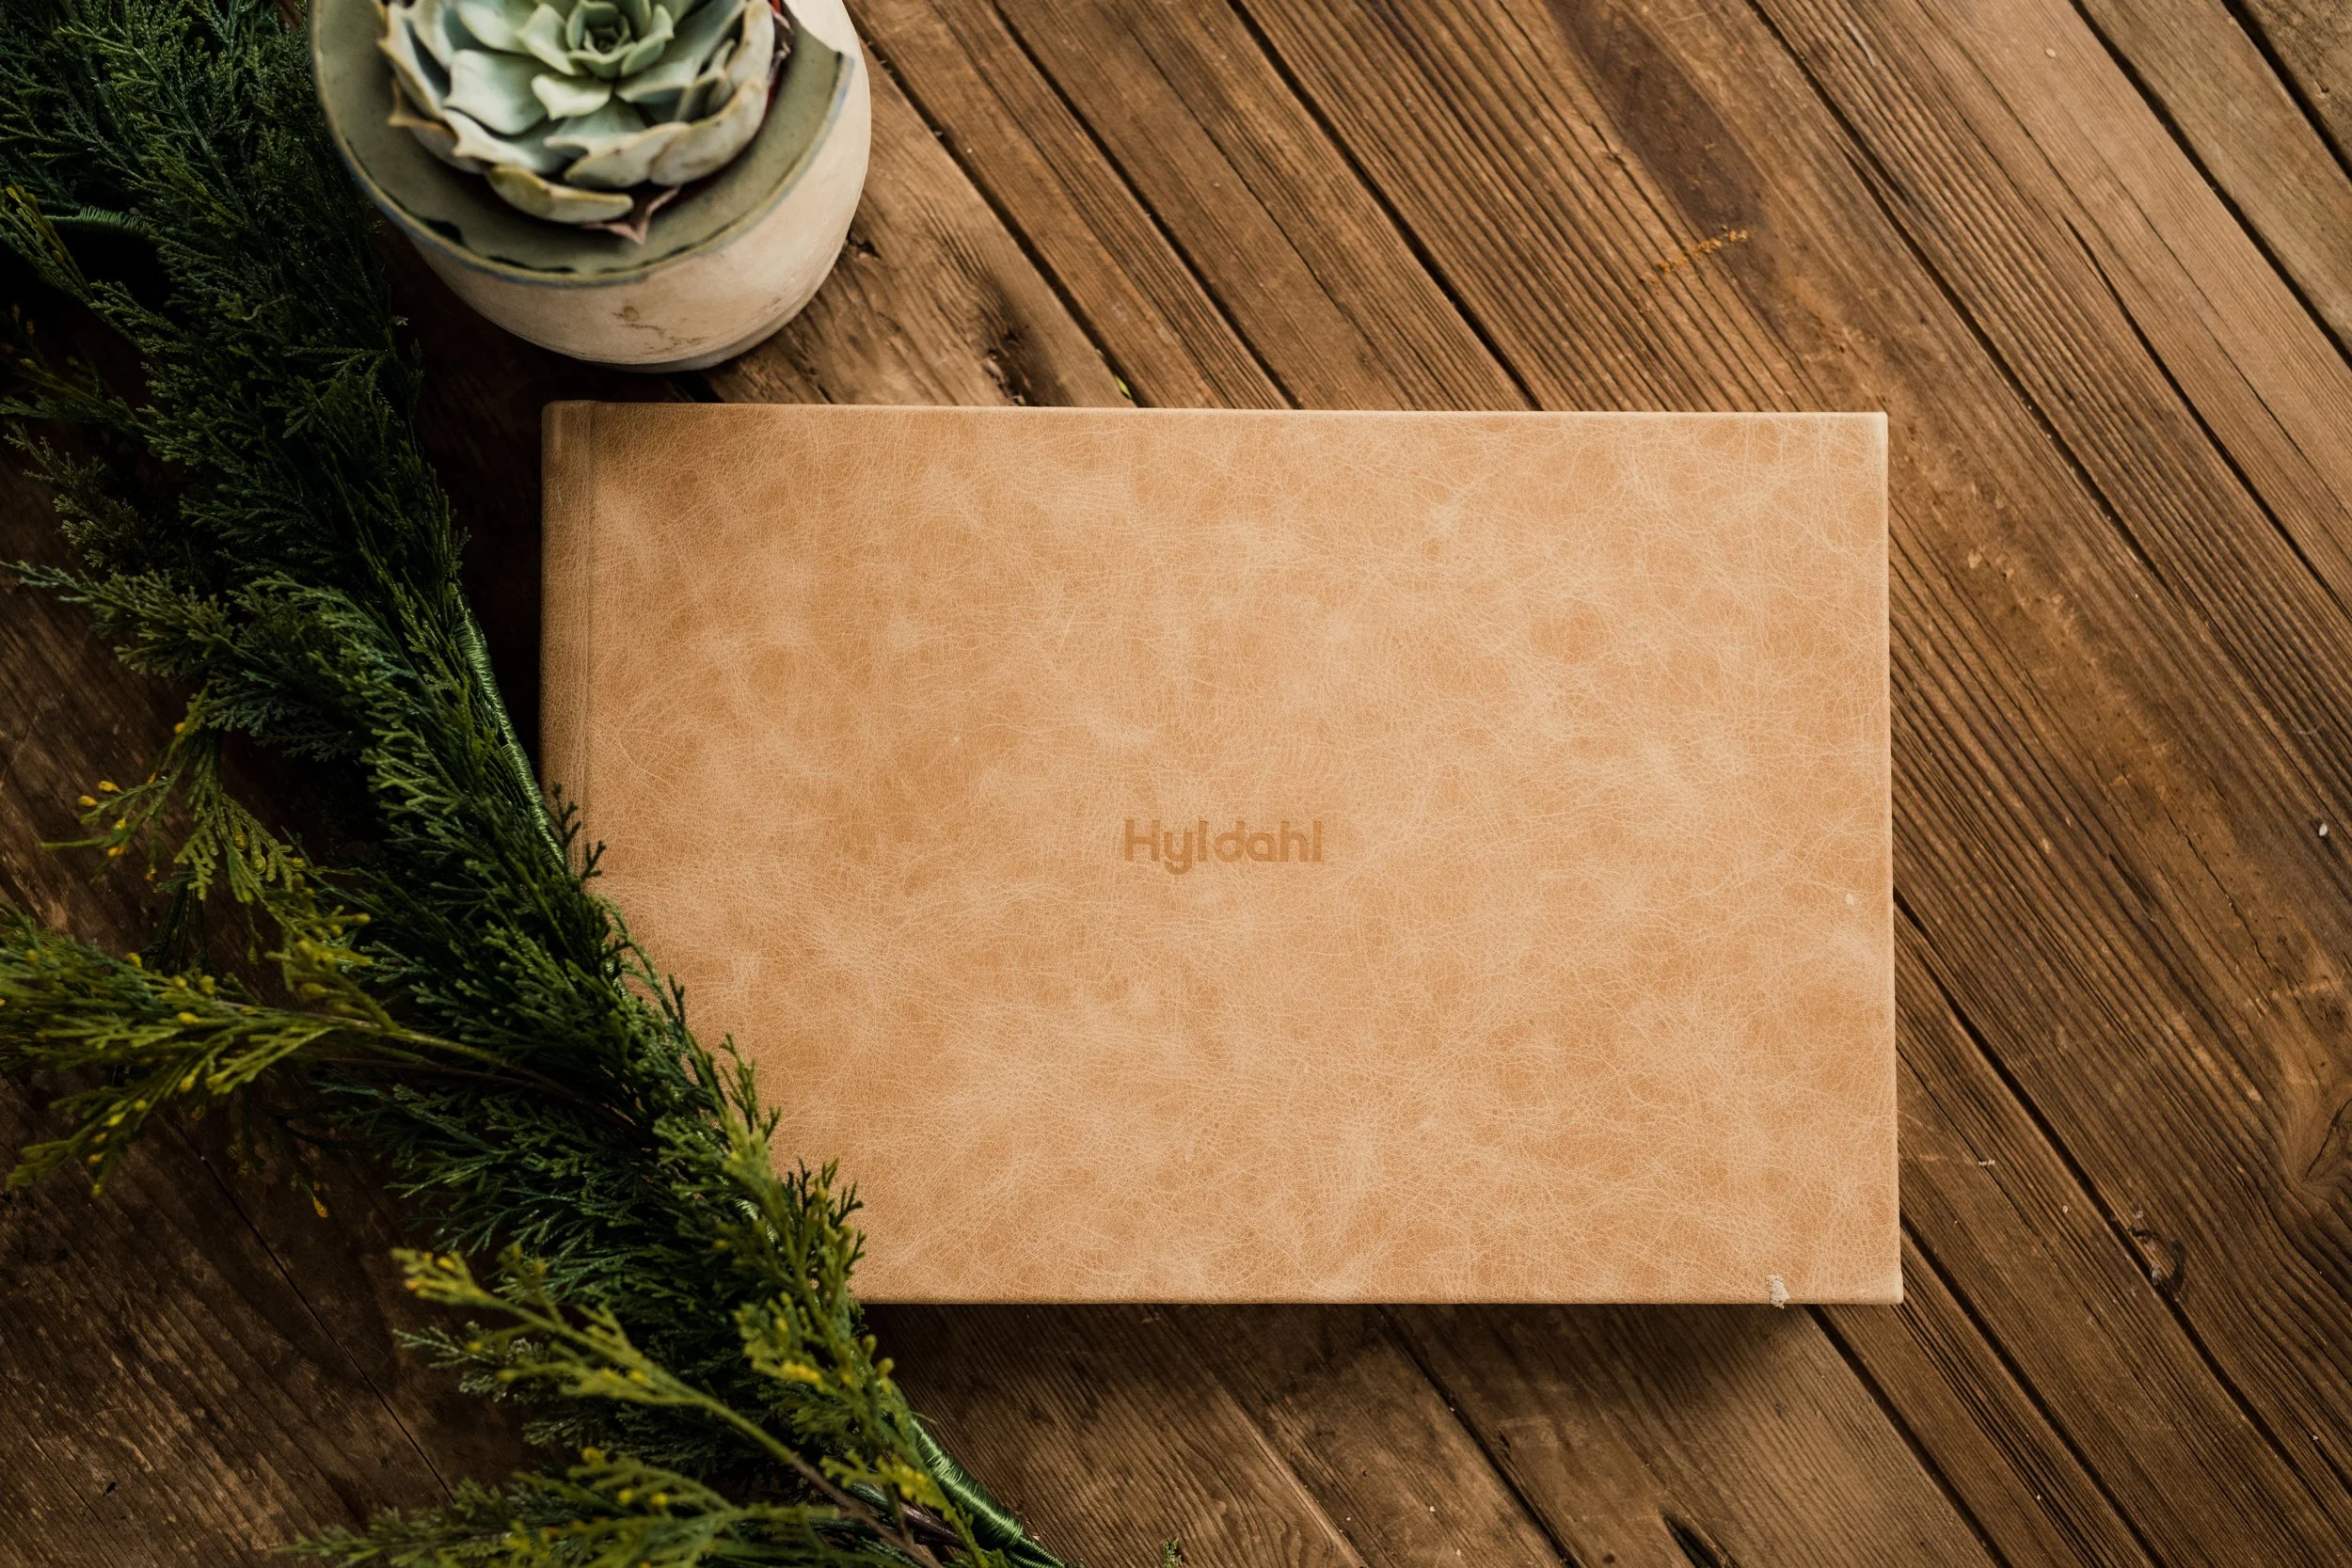
For everyday prints, I usually recommend Mpix. They have beautiful color, professional service, and nice album options.
Artifact Uprising is also beautiful and a little more elevated, especially for albums and books.
Both are wonderful options. The most important thing is that your photos do not stay hidden forever in a download folder.
A Simple Photo Preservation Checklist
After your gallery arrives:
Download the full gallery to your computer
Create a clearly named folder
Copy the folder to an external hard drive
Upload the folder to cloud storage
Save favorites to your phone for easy sharing
Print a few favorites
That is it.
You do not need a perfect system. You just need to give your images more than one place to live.
Because these photographs are not just files.
They are proof of a season.
They are a record of a person, a family, a day, a business, or a mission.
They are reminders of connection.
They are pieces of a story that deserves to be preserved.
We record them because they matter.
We preserve them because these moments become even more meaningful with time.
And we return to them because they help us remember what love, purpose, and connection looked like in this season of life.